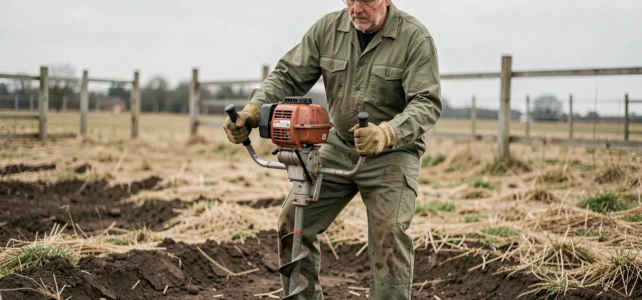
A rocky sloped ground, thirty holes to align for a rigid wire fence, and a shovel that is no longer sufficient by the third post: this is the kind of situation where a power auger makes all the difference. However, digging a hole with a power auger is still an operation that requires preparation, or else you risk jamming, oblique holes, or a bit stuck in clay.
Locating buried networks before the first drill bit strike
Competitors speak of safety in vague terms. On the ground, the first step has nothing to do with the machine: you locate the buried networks. Gas, electricity, drinking water, fiber optics, everything sometimes runs less than a meter below the surface.
Before starting the engine, you consult the cadastral map and, if possible, the as-built plans provided by the utility companies. A portable network detector complements the identification in uncertain areas. Drilling into an electrical conduit or a gas line can cost much more than a day of verification.
You then mark each drilling point with a stake or a line of paint on the ground. For a fence, you stretch a string between the two ends to ensure alignment. This preparatory work, often rushed, determines the quality of everything that follows. If you want to know how to easily dig a hole with an auger, it is this upstream phase that makes the difference between a smooth job site and a series of corrections.
Choosing the bit and preparing clay soil
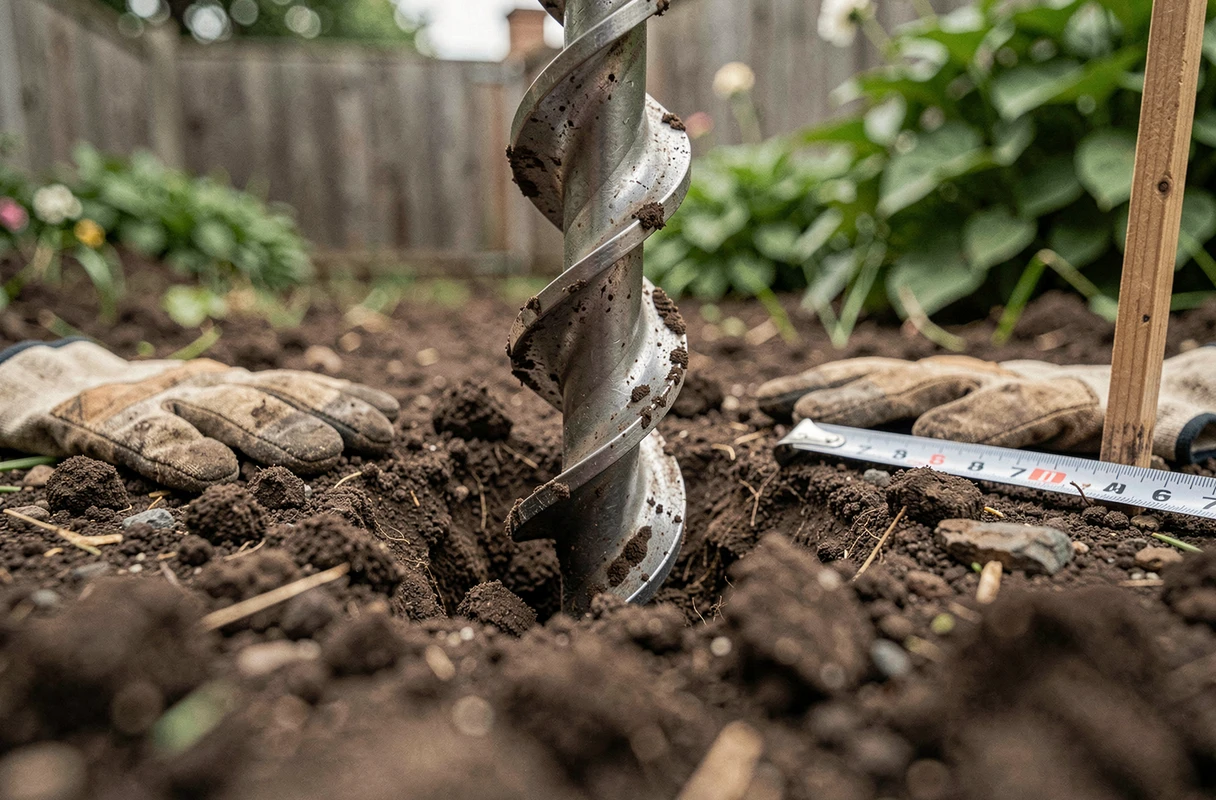
The helical bit is the most common for digging holes intended for fence posts or tree planting. Its spiral pitch evacuates the soil as you go. The wider the pitch, the faster the evacuation, but the less precise it is.
The diameter of the bit is chosen based on the post: you generally take a diameter slightly larger than the planned setting. Mounting a bit that is too wide on an undersized engine causes excessive torque that strains the mechanism and makes the machine difficult to control.
Clay soil: water before drilling
On dry clay soil, the bit tends to skid on the surface without biting. A light watering of the drilling area, the day before or a few hours prior, softens the first centimeters and allows the tip to anchor. You don’t need to soak the ground, just break the hard crust.
On sandy or loose soil, this step is unnecessary. Feedback on this point varies depending on the season and region, but in the middle of summer on compact clay, moistening saves considerable time.
Short-pass drilling technique with a power auger
Once the bit is mounted and the safety brake checked, you start the cold engine according to the manufacturer’s procedure (starter, priming, pull starter). Position the tip exactly on the mark, feet spread on either side of the drilling axis, never in front of the rotation.
You drill in short passes of fifteen to twenty centimeters, then pull the bit up to evacuate the accumulated soil on the spirals. This action, repeated at each pass, avoids three common problems:
- Jamming of the bit, which overloads the engine and can cause a sudden blockage
- Overheating of the drive mechanism, especially on entry-level models
- Flaring of the top of the hole, caused by a bit that spins idle in a pile of loose soil
Let gravity and the weight of the machine do the work. Pressing all your weight on the auger does not make the bit descend faster: it increases the risk of losing control if the bit catches a root or a stone.
Adjusting speed to soil type
On loose soil, you can maintain a moderate engine speed. On compact or rocky soil, you increase the speed so that the bit cuts instead of scraping. If you encounter a large stone, stop, clear it manually, then resume. Forcing only leads to bending the bit or breaking a gear.
Verticality of the hole and quality of the setting for fence posts
A perfectly vertical hole ensures a straight post and a durable setting. You check the plumb with a level placed against the body of the auger during drilling, or you check afterward by inserting the post and adjusting before pouring the concrete.
A flared hole at the top weakens the setting because the concrete then forms an inverted cone that poorly withstands lateral forces (wind, tension from the wire). To avoid this flaring, keep the bit well centered from the first centimeters and avoid tilting it during the ascent.
The depth depends on the use. For a standard fence post, aim for a depth sufficient for the lower third of the post to be buried. Lightly compact the bottom of the hole before placing the post, then brace with draining gravel under the concrete to prevent water stagnation at the base.
- Check the verticality at each hole, not just at the first and last
- Keep a bucket of water and a brush handy to clean the bit between holes
- Turn off the engine for any movement, even just a few meters, between two drilling points
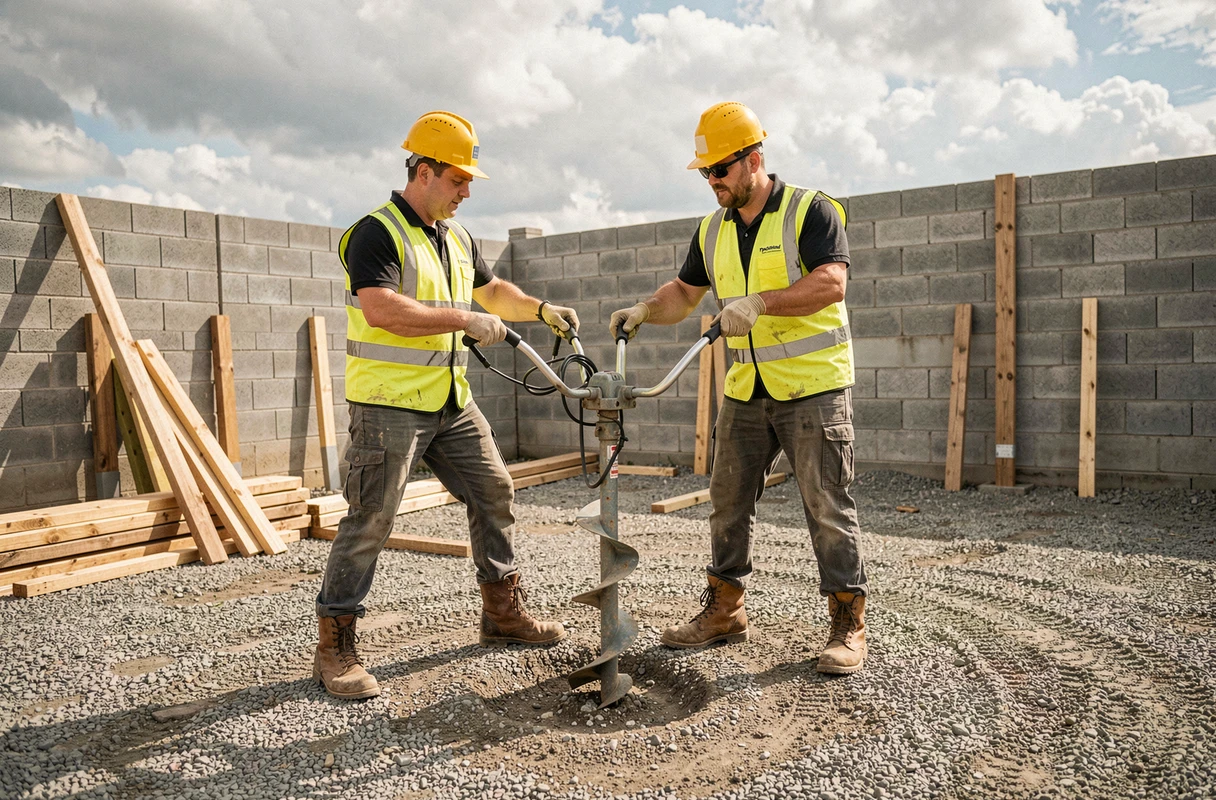
The power auger remains a powerful tool that demands respect: anti-vibration gloves, safety glasses, and safety shoes are not optional. Working in pairs on large diameter bits allows for better torque absorption and quicker reactions in case of blockage. A well-prepared job site, with regular passes and systematic plumb checks, transforms a grueling earth-moving task into a quick and clean operation.